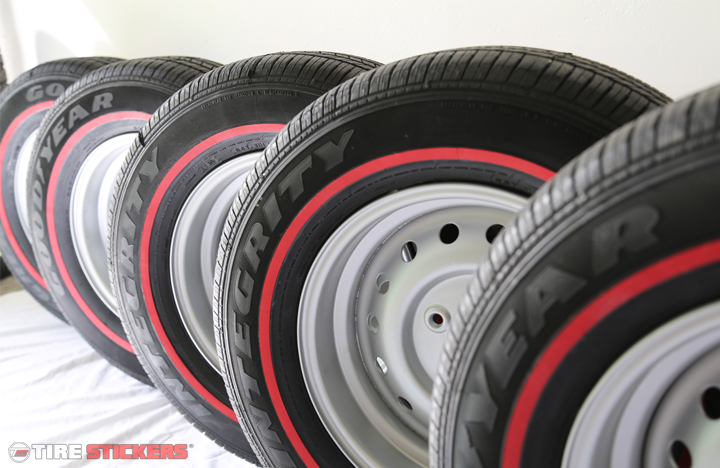
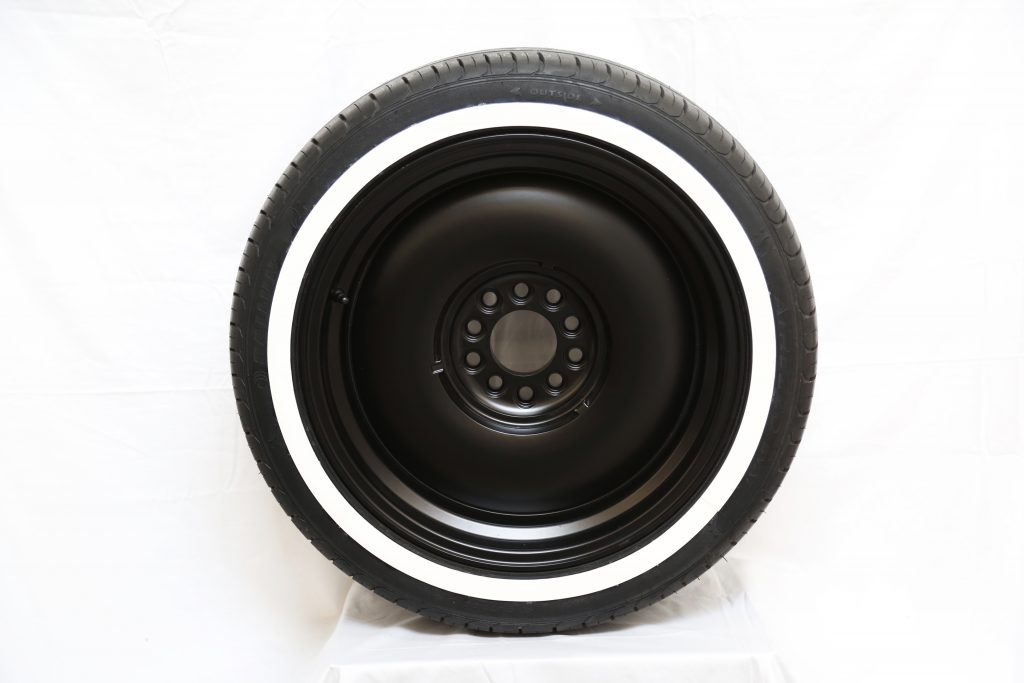
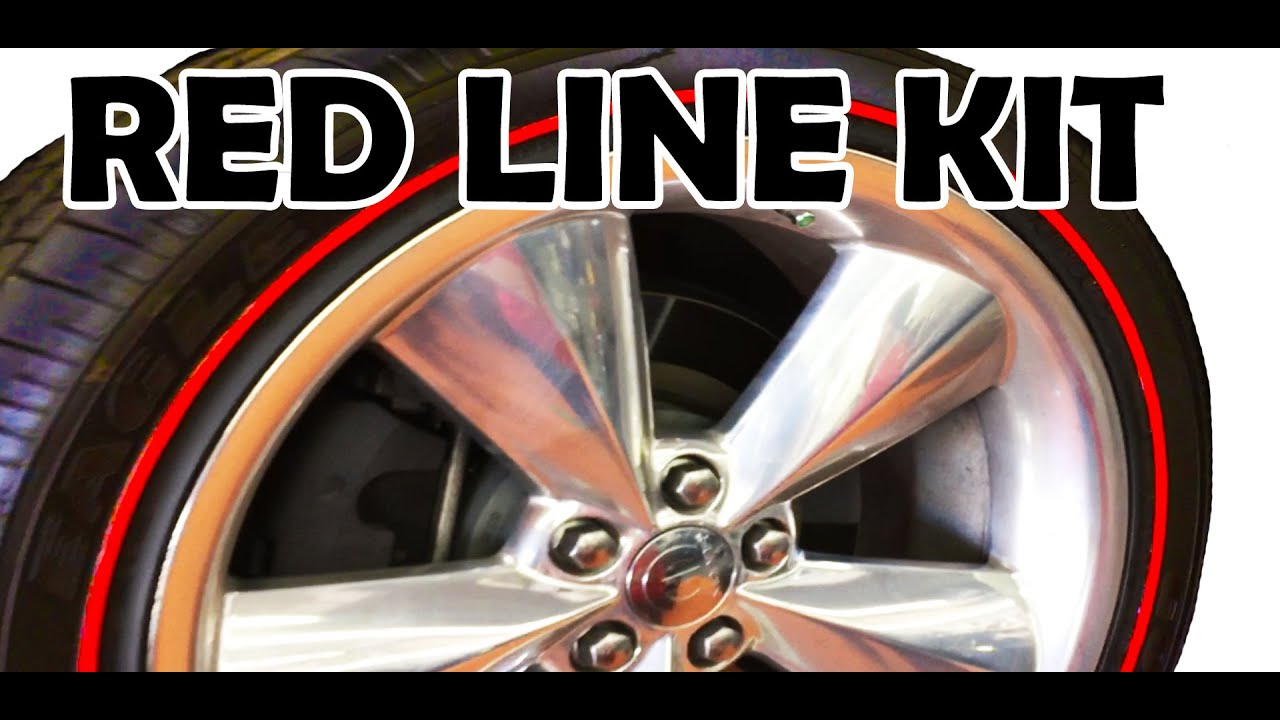
If you’re looking for a classic way to up the ante with your car’s design, look no further than Redline or Whitewall tires. The Redline is the vibrant streak of color made famous by muscle cars of the fifties and sixties. The Whitewall goes back even farther – 1904 to be exact – and offers a more refined and timeless look with a wider berth.
The problem is most tire manufacturers aren’t making these classic designs and the ones that are aren’t factory installed. That’s why Tire Stickers is here.
Redline and Whitewall Tire Sticker Kits
You can get both styles from THE SHOP. Each design comes with 4 strips – one for each tire – and fleXement Adhesive if you spring for the permanent decals. Whether you go Peel-And- Stick or Permanent, you can customize the width, length, and color of your Redline and Whitewalls to suit your car, truck, ATV, motorcycle, bicycle, tricycle or whatever you’re riding.
How Do You Install Them, Though?
Step 1: Get Squeaky Clean. Use Acetone to remove every speck of dirt and oil from the
surface of your tire’s sidewall. While you’re at it, pick off any rubber hangnails that may get in the way. The cleaner the better.
Step 2: Apply Adhesive. Permanent orders include fleXement Adhesive, so put a moderate
amount on the first few inches of the Redline or Whitewall strip.
Step 3: Stick It. Using an existing line on your tire as a guide, carefully place the beginning of the Tire Sticker. Apply light pressure.
Step 4: Repeat Steps 2 & 3. For the rest of the decal, continue applying adhesive - in small sections - and carefully sticking it to the tire. Round and round you go.
Step 5: Trim. When you reach the end, trim the decal to perfectly line it up with the beginning.
Step 6: Finalize. From here just remove the clear plastic coating from the decal and touch up
any spots that may need more adhesive. Let it all dry at least 1-2 hours.
Not sure you can get them just right? Did you know we offer professional installation too? Just tick the box when you order.
Now head over to the shop and get started.
Step 7: Get Social. Now that your Tire Stickers are installed, take a picture and head over to
our Facebook or Instagram to join the community.
BAM! That easy. Now you’ve got a sweeter ride and everyone knows about it.